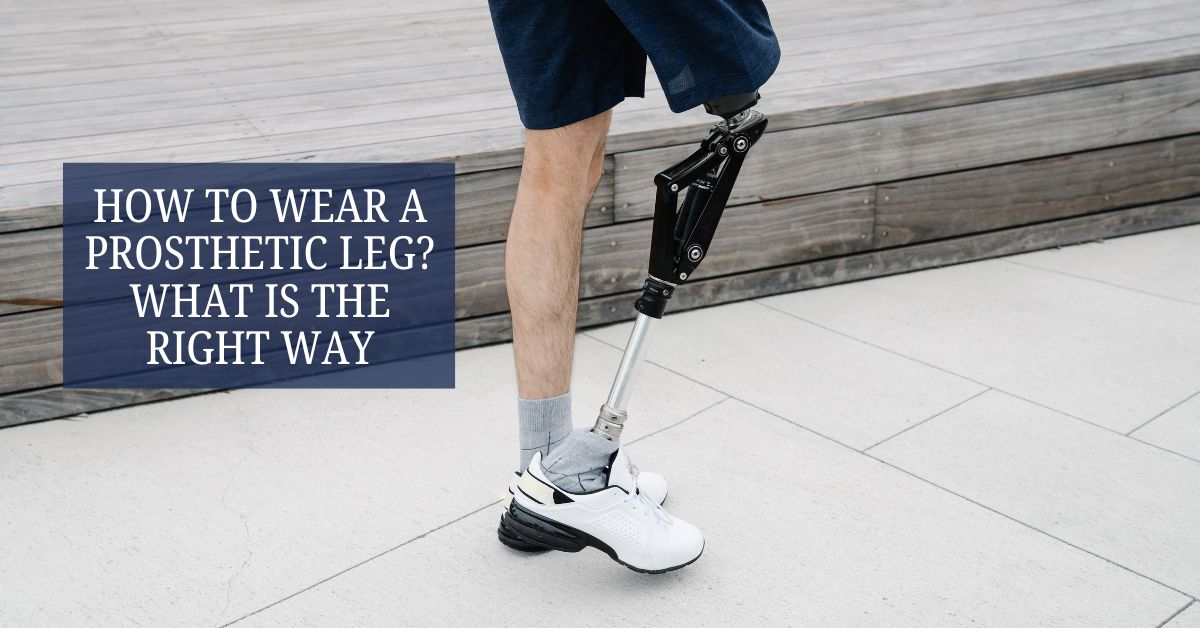

For new amputees, wearing a prosthetic leg for the first time can feel overwhelming. The fit, comfort, and confidence to walk naturally don’t come overnight—it’s a process that requires patience, practice, and the right techniques. A well-fitted prosthetic leg can help restore mobility, but knowing how to wear it properly is just as important. In this guide, we’ll walk through the essential steps to ensure a comfortable and secure fit, helping you move with confidence.
Step 1: Ensure Your Residual Limb is Healthy and Ready
Before putting on your prosthetic leg, your residual limb must be in good condition. Keep these factors in mind:
- Check for Swelling: Swelling is common after amputation. If your residual limb is swollen, using a shrinker sock can help shape and reduce it.
- Inspect Your Skin: Look for redness, blisters, or irritation. Wearing a prosthetic over irritated skin can lead to more discomfort.
- Clean and Dry: Wash your residual limb with mild soap and water daily. Make sure it’s completely dry before putting on your prosthesis to prevent skin issues.
Step 2: Use the Right Prosthetic Liner or Sock
A liner or prosthetic sock helps create a cushion between your limb and the prosthetic socket, reducing friction and discomfort. Here’s how to use them properly:
- Choose the right thickness—sock ply may vary depending on swelling or changes in your limb.
- Ensure the liner is smooth with no wrinkles, as folds can create pressure points.
- Pull the liner snugly over your limb, making sure it covers it evenly.
Step 3: Insert Your Limb into the Prosthetic Socket
Now that your limb is prepared, it’s time to wear the prosthetic leg:
- Sit down in a stable position before putting on the prosthesis.
- Guide your limb into the socket, making sure it fits snugly.
- Adjust until it feels even—your limb should not be pressing harder on one side than the other.
- If using a suction system, remove excess air by pressing the valve or applying pressure to ensure a tight seal.
- For pin-lock systems, listen for the click to confirm the pin has locked in place.
Step 4: Secure the Prosthesis Properly
Depending on your prosthetic type, you might need to adjust straps, locks, or suction systems. Always ensure:
- Your prosthetic leg feels snug but not too tight.
- There’s no pinching or discomfort when you stand.
- If using straps, they should be evenly fastened to avoid imbalance.
Step 5: Stand Up and Check the Fit
Before walking, stand up slowly and check for:
- Even weight distribution – You should not feel like you are leaning more on one side.
- Comfortable alignment – Your knee should not feel hyperextended or bent unnaturally.
- No pain or pressure points – If you feel any sharp pain, remove the prosthetic and check your limb for irritation.
If something feels off, make small adjustments. Over time, you’ll learn what a good fit feels like.
Step 6: Walk with Caution and Confidence
Walking with a prosthetic takes practice. Here’s how to start safely:
- Begin with small, controlled steps while holding onto a stable surface.
- Keep your back straight and avoid looking down at your feet.
- Focus on even strides—don’t favor one leg over the other.
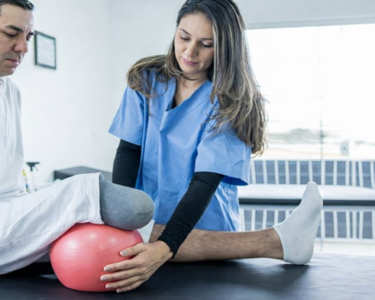
- Work with a physical therapist to develop strength and balance.
The more you practice, the more natural walking will feel.
Step 7: Know When to Adjust or Remove Your Prosthesis
It’s important to recognize signs that your prosthetic may need adjustments:
- If your residual limb feels sore or swollen, remove the prosthetic and rest.
- If the socket feels loose, you may need a different sock thickness.
- If there’s persistent discomfort, consult your prosthetist for modifications.
Your prosthetic limb should feel like an extension of your body, not a burden.
Final Thoughts
Learning to wear a prosthetic leg properly takes time, but following the right steps will help you feel comfortable and confident. Always listen to your body, make necessary adjustments, and seek professional guidance if needed. With practice, patience, and the right techniques, moving forward with a prosthetic can become second nature, allowing you to enjoy a full and active life.
Step 4: Secure the Prosthesis Properly
Depending on your prosthetic type, you might need to adjust straps, locks, or suction systems. Always ensure:
- Your prosthetic leg feels snug but not too tight.
- There’s no pinching or discomfort when you stand.
- If using straps, they should be evenly fastened to avoid imbalance.
Step 5: Stand Up and Check the Fit
Before walking, stand up slowly and check for:
- Even weight distribution – You should not feel like you are leaning more on one side.
- Comfortable alignment – Your knee should not feel hyperextended or bent unnaturally.
- No pain or pressure points – If you feel any sharp pain, remove the prosthetic and check your limb for irritation.
If something feels off, make small adjustments. Over time, you’ll learn what a good fit feels like.
Step 6: Walk with Caution and Confidence
Walking with a prosthetic takes practice. Here’s how to start safely:
- Begin with small, controlled steps while holding onto a stable surface.
- Keep your back straight and avoid looking down at your feet.
- Focus on even strides—don’t favor one leg over the other.
- Work with a physical therapist to develop strength and balance.
The more you practice, the more natural walking will feel.
Step 7: Know When to Adjust or Remove Your Prosthesis
It’s important to recognize signs that your prosthetic may need adjustments:
- If your residual limb feels sore or swollen, remove the prosthetic and rest.
- If the socket feels loose, you may need a different sock thickness.
- If there’s persistent discomfort, consult your prosthetist for modifications.
Your prosthetic limb should feel like an extension of your body, not a burden.
Final Thoughts
Learning to wear a prosthetic leg properly takes time, but following the right steps will help you feel comfortable and confident. Always listen to your body, make necessary adjustments, and seek professional guidance if needed. With practice, patience, and the right techniques, moving forward with a prosthetic can become second nature, allowing you to enjoy a full and active life.
Disclaimer: The information provided in this article is for general knowledge and educational purposes only. It should not be considered medical advice, diagnosis, or treatment. Prosthetic solutions vary based on individual needs, medical conditions, and professional recommendations. Always consult with a certified prosthetist, healthcare provider, or medical professional for personalized advice and the best prosthetic options for your specific situation.